Baseball Cap Manufacturing Process
Introduction
The process of manufacturing a baseball cap starts with cutting the fabric, stiching it, embellishing it and then steaming.
Components of a baseball cap
A baseball cap is made up of:
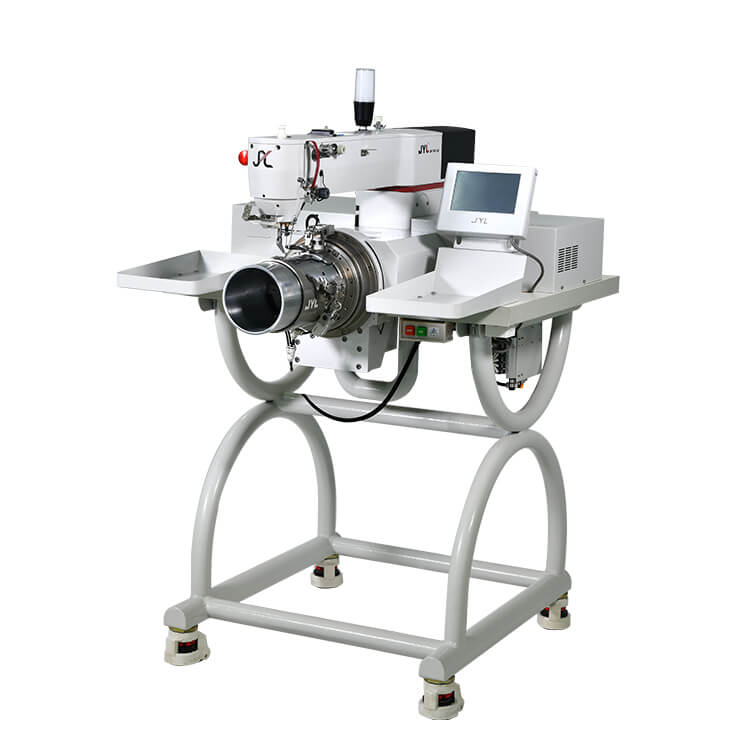
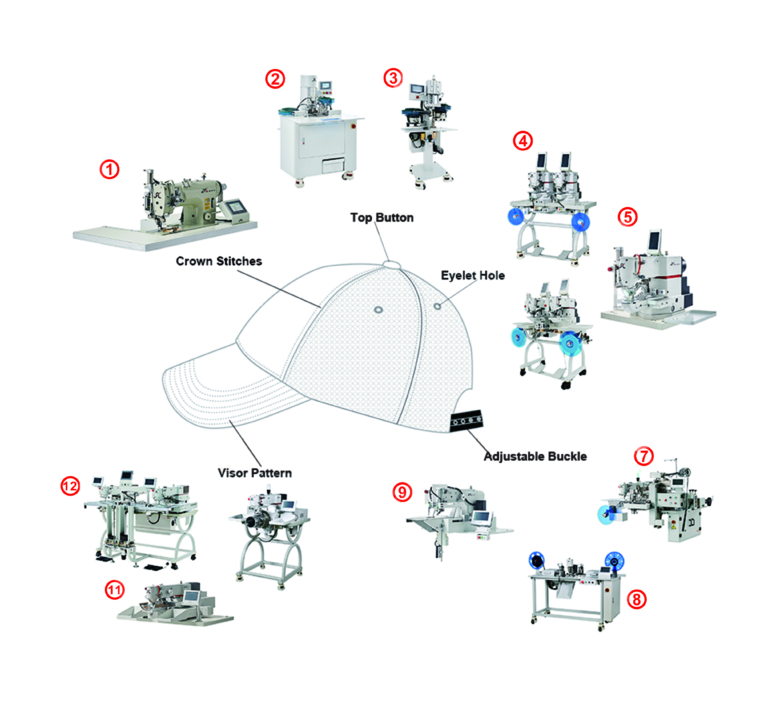
Crown and visor. The crown is the top part of a hat and it’s what you see when you look down on your head. It’s usually made out of felt or leather, but sometimes they’ll use other materials like acrylic or cotton. A visor is an extra piece that goes over your eyes to protect them from sun exposure during hot weather conditions (like playing catch in the backyard). These can be either plastic or metal depending on whether you’re looking for more protection than just blocking UV rays—but if you just want something light-wearing, then go for something with no shades at all!
Eyelets (also known as eyelets). These are small holes near the center point where two strings meet together so that they can be tied around each earlobe instead of having them hanging below our chin like most people have done since time immemorial.”
1. The first stage of manufacturing starts with the cutting of fabric.
The fabric is cut according to the design.
The cutting starts from the design and ends at the shape of the cap.
2. The stitching process of the crown and visor.
The stitching of the crown and visor is done by skilled workers. The stitching is done on the cap, as well as on the visor. In this process, you will see that there are three steps involved in making a baseball cap:
Step 1: Making a template for each hat (crown) and visor;
Step 2: Stitching on both sides of your baseball cap;
Step 3: Cleaning up any loose threads from other parts of your baseball caps
3. Embroidery on the panels.
The embroidery is done by machine. We use a specialized piece of equipment that can embroider on the panels, crown and visor at a very high speed.
4. Attach eyelets on the panels.
The eyelets are then attached to the panels using a special machine that has its own set of instructions. The machine uses an adhesive material, which is applied evenly to both sides of each panel. Once it dries, you can attach your cap by running your fingers through the eyelets and pulling them apart slightly until they’re loose enough for you to slide underneath them.
5. Attach tapes.
Attach tapes. The tape is attached to the visor and crown, which is then set into place on your cap.
6. Make the visor part
The visor is made from a separate piece of fabric. This process involves sewing the visor material to the cap, which then needs to be sewn together and lined with foam or batting (if you want it to have padding).
7. the visor attached to the crown.
The visor is the piece of fabric that you see on top of your cap. It’s sewn to the crown, and it can be made from a variety of materials.
8. Attach sweatband.
Attach sweatband.
Now the cap is ready to go! You can either wear it on your head or tie it around your back with a knot, but whatever you choose to do, make sure that the sweatband is secure and won’t move when running around or playing baseball at an active school site like [name of school].
9. Attach cloth snaps (button).
Attach cloth snaps (button). After sewing, you should attach the cloth snaps. This can be done using a buttonhole maker or by using hot melt glue.
10. Attach Closure.
Once the cap is ready for attachment, it’s time to attach the closure. The closure will be sewn onto the crown of your baseball cap, which is made from nylon or wool felt. The fabric used in this type of closure can vary depending on what type of hat you’re making: some come with Velcro attachments that allow you to easily adjust for size changes between seasons or even just between days at home versus days out on the field during practice sessions.
If you’re using machine embroidery instead of hand stitching, then choose thread color accordingly so that when it comes time to hemming around each side panel (which will act as our “strap”), they match up nicely together without being too noticeable against one another when worn overtop each other during playtime activities such as batting practice sessions (and yes—you should definitely attend these!).
11. Steaming the stitched cap.
Steaming the stitched cap is done to give it a perfect shape.
Conclusion
Baseball caps are part of our culture and we have to be proud of them. We have learned all the manufacturing processes involved in making baseball caps because it is an art form. Nowadays, there are several companies that produce these caps, but none of them can beat our expertise or traditional attitude towards the product.